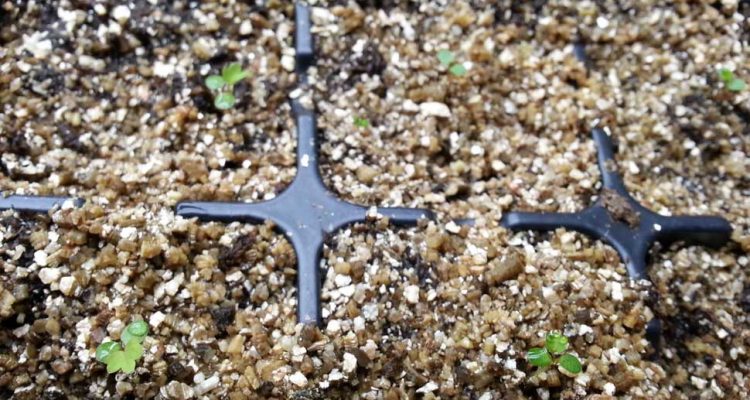
Growing strawberries from seed is a rather easy process and is the most affordable way to acquire plants.
After making an early order of four varieties from Stokes Seeds, I was on a mission to propagate my strawberry seedlings. After a all, a little research mentioned that strawberries started from seed in December to around mid January allowed the plants’ ability to produce fruit the first year.
Since my family has a large outdoor, open air hydroponic system that can host 2500+ plants spread over 9 row, I decided we could use two rows just for strawberries; especially after noticing they are often in the groceries year round.
Thus, in a nutshell, we will plant over 400 plants in the two rows. So, I bought 1045 seeds and started them over a two week period starting the first week of January.
This post will guide us from germination, all phases of seedling care, harvesting and even propagating runners from first year seeds.
Germination
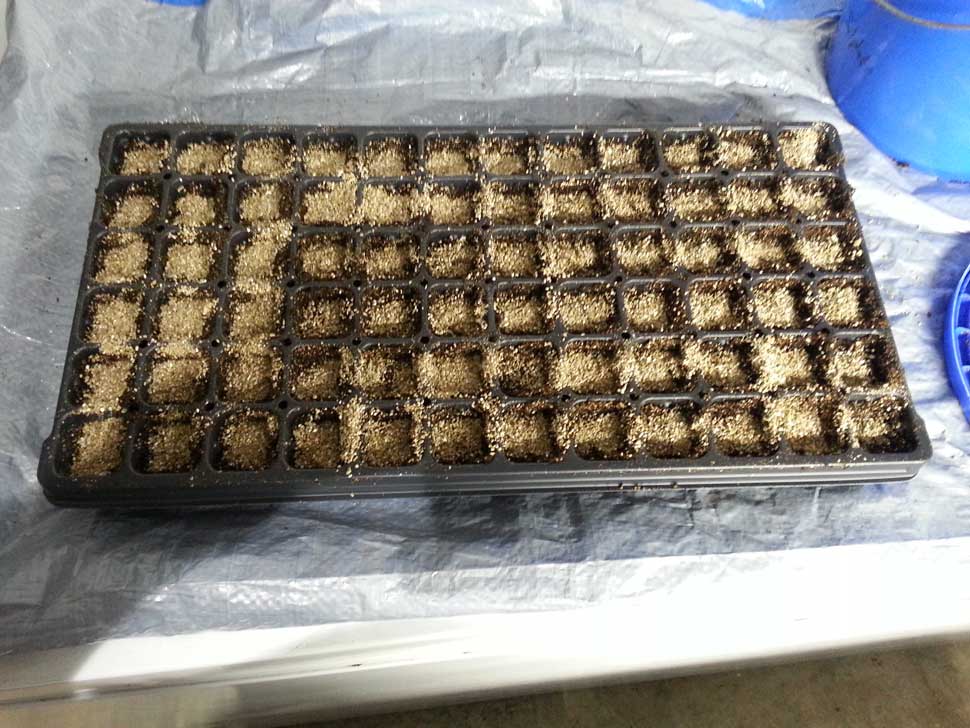
Since strawberries are slow growers at first, I prepared 72-flat plugs with peat / vermiculite mix. The Internet spews out 20% as the vermiculite ratio so often it gives me headaches. But, I find you don’t need much; say 10% or even lower like 5% will keep peat loose while keeping costs down.
Once the peat and vermiculite is mixed up and inserted into the plug trays, we can use another tray and place it on top to pat it down a little. Then, we use a seed sower and drop 1-3 seeds into each plug. After that, we simply add a small layer of vermiculite to the top, like 1/8-inch.
The vermiculite is great because it holds lots of water and air. Thus, seeds germinate well but don’t get over-waterlogged. Its ph over 7 also is a good feature for the mix, although watering ph is always the most critical.
Since strawberry germination can be anywhere from 1-5 or more weeks, we want seedlings that are strong and won’t die from damping off.
Post Planting
After the strawberries are in the trays and topped with vermiculite, we can use a pump sprayer and soak them until they are thoroughly moist. After that, we place a 4″ dome over them and place them on a heat pad.
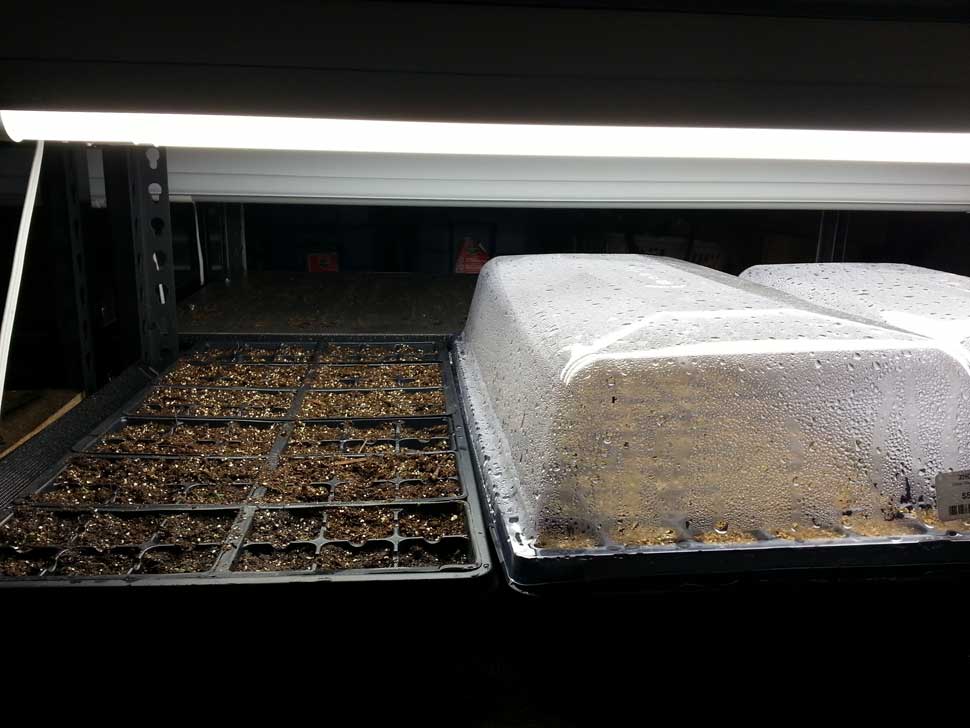
Since strawberries need light for germination, we can light one set of our daylight led lights located on top of the domes. For success, we can use 2, 4-foot fixtures for 4 flats, which is over 280 plants in a small area 2ft x 4ft.
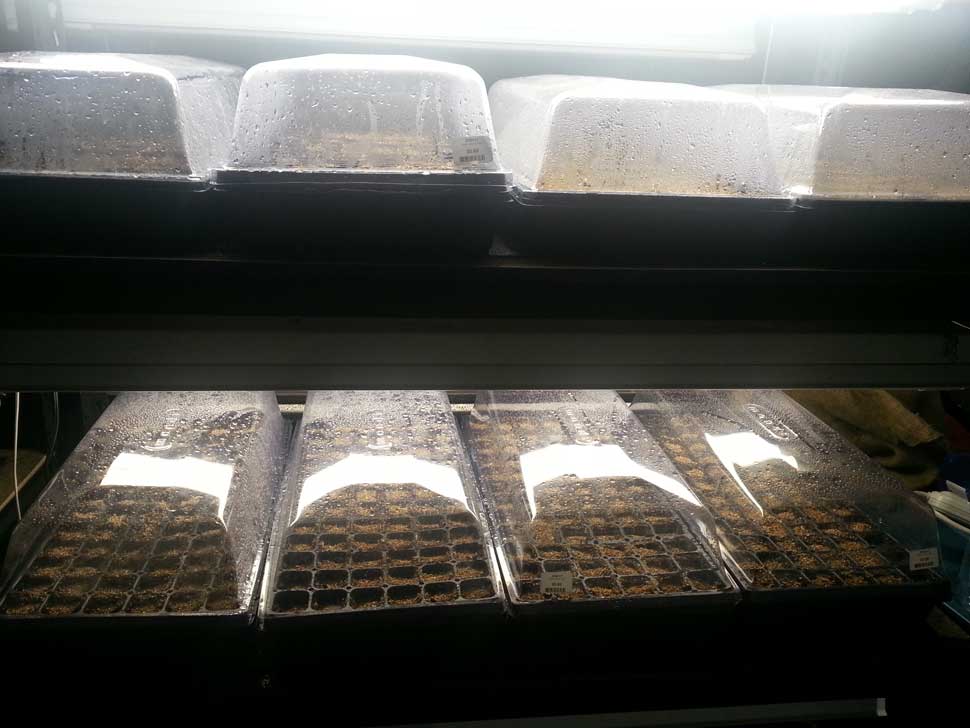
Each day or two, a good misting with a pump sprayer will help keep the top moist and aid germination. After a week, some will pop up. After two weeks, some plugs will have more than one plant.
When strawberry germinants have the first two round leaves, or the first real leaf, they can transplanted to a new plug. Gentle hands are required. But, scooping them out with a mini shovel or spoon is quite easy because they usually have a single long root that comes out easily.
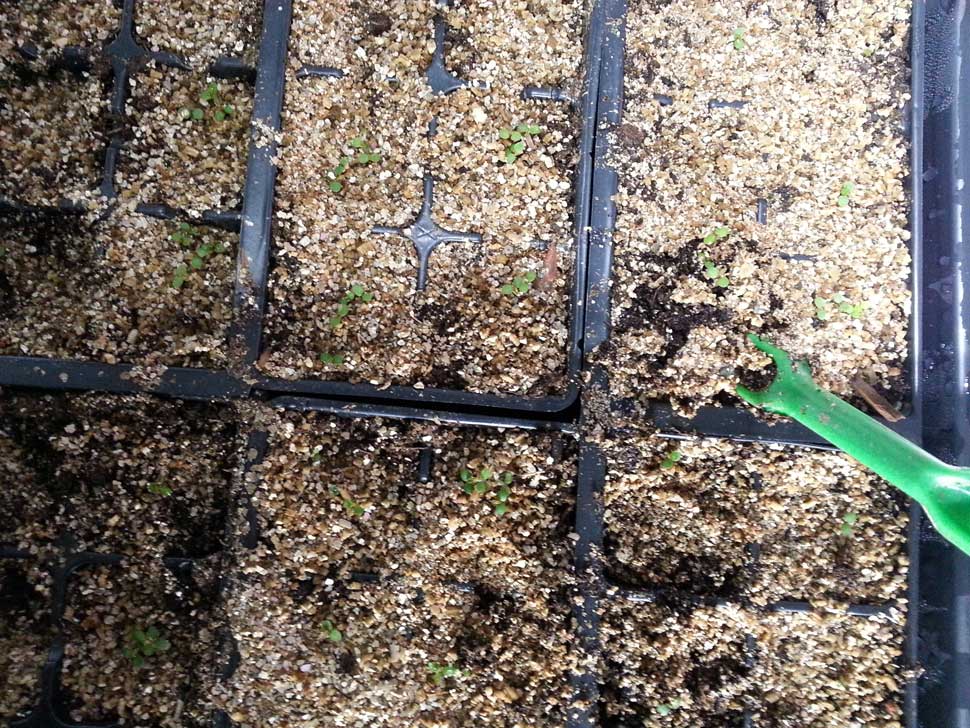
Scooping out tiny strawberry plants
When placing them into new cells, they just need a hole, placed inside and covered up. We just must make sure not to be forceful and over-bend and break the roots. This transplanting can go on for weeks.
Meanwhile, after the first week, we can switch on our second light fixture so that our plants have decent lighting.
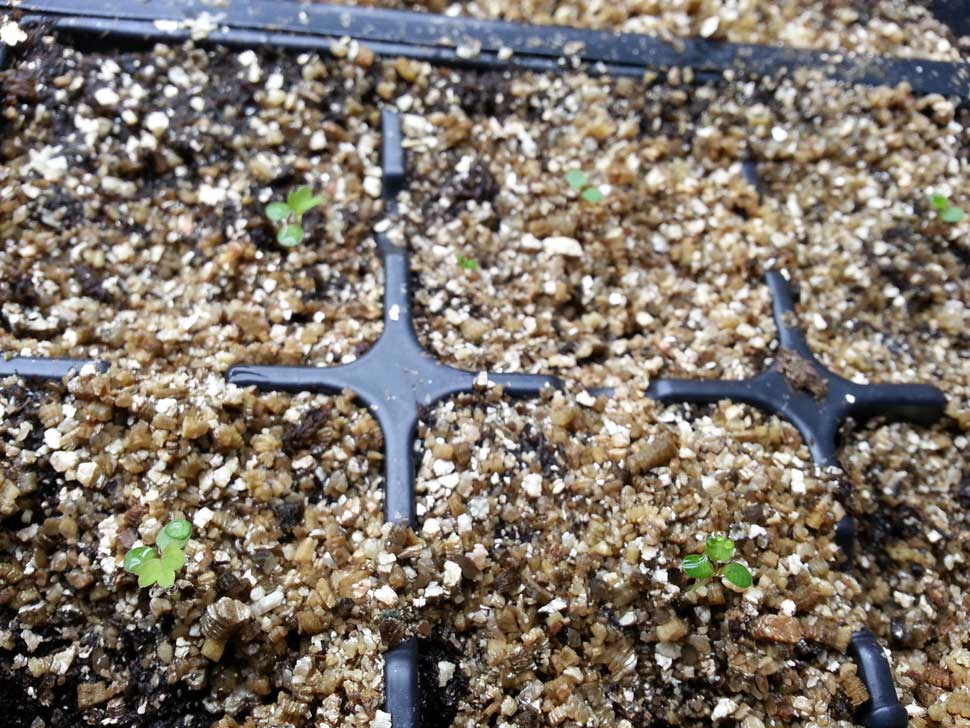
Having followed these instructions, we had over 85% germination rate and did not lose one plant to damping off. In addition, we could keep the domes on multi-seeded flats for up to 4 weeks without issues.
However, when we transplanted the seedlings to new flats, we placed the lights 3-inches from the tops and removed the domes. The domes were only used for the seedlings the flats that had 1-3 seeds per cell.
So, if strawberries are your thing, regular, in frozen smoothies and chocolate coated, hopefully this experience can help.
As time moves on, our seedlings will grow and need different care.
Strawberry Seedling Care For The First Year
As our strawberries age under lights, we can look ahead and see how we can move them along with rapid growth to attempt to maximize our production, quality and future stock.
Caring For 4-8 week old strawberries
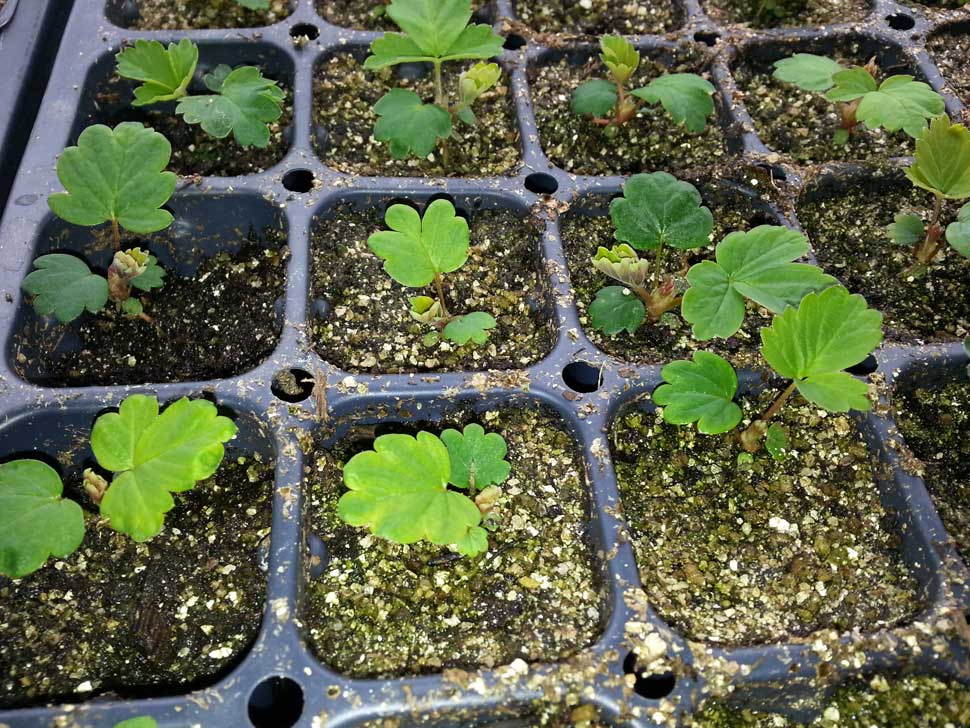
Caring For 4 month old Strawberry Plants
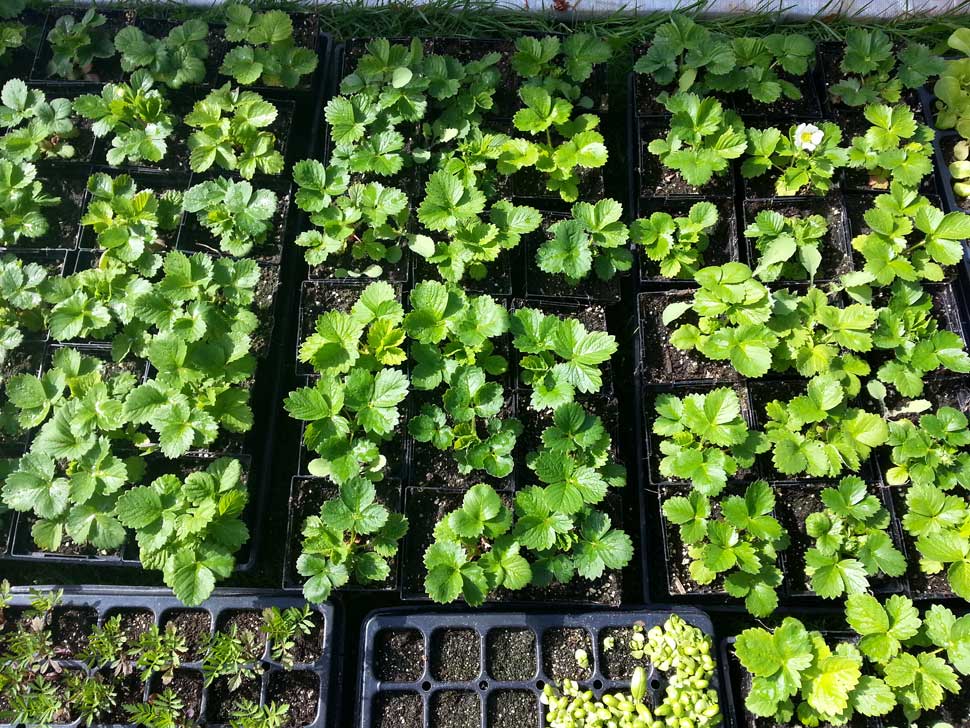
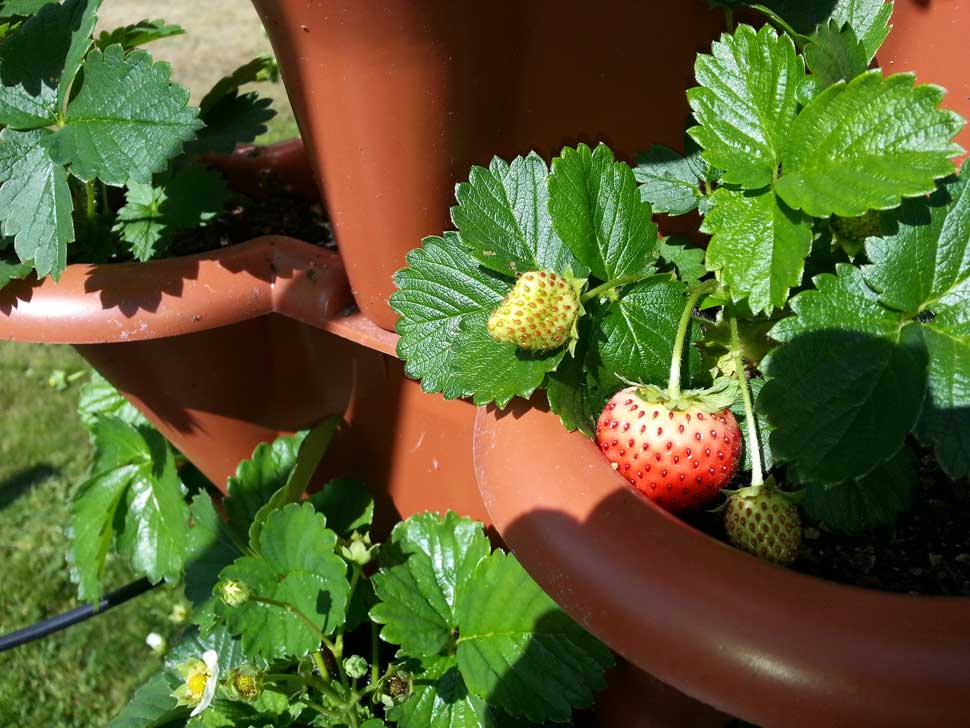
Strawberry seedlings at 6 months
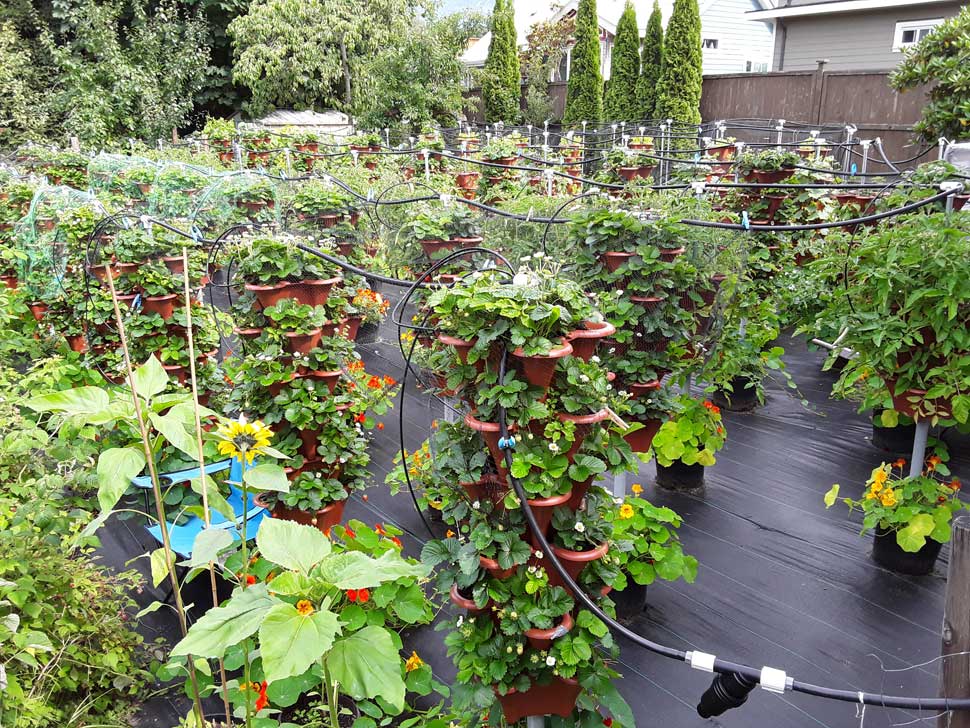
7 month old plants and Strawberry runners
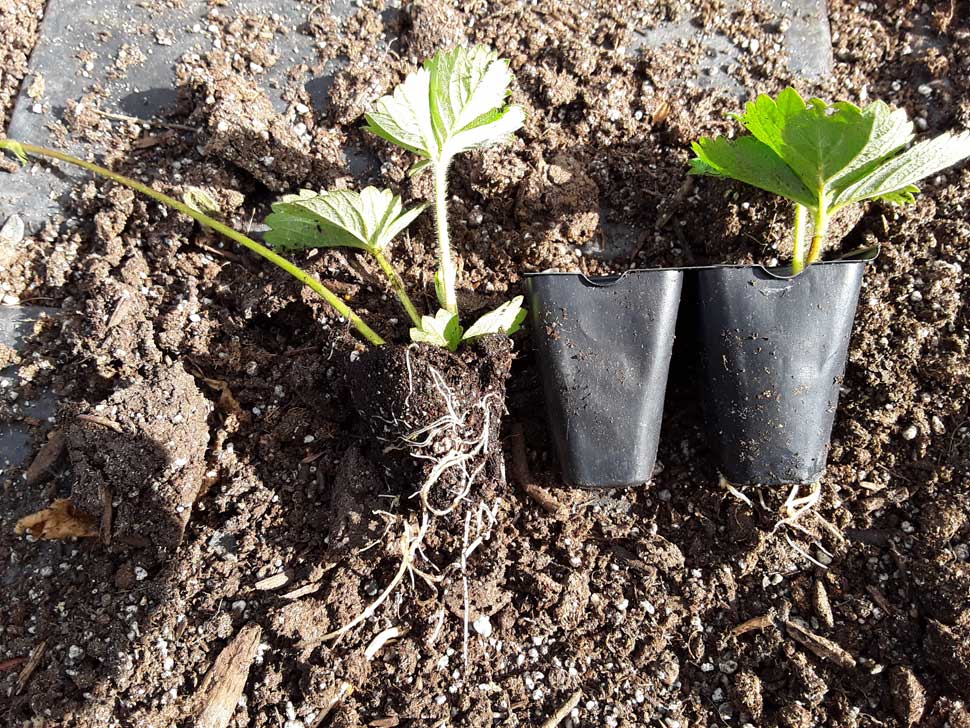
Since we only took runners of the best plants that cost a fortune from seed(over $1 / seed after germination), we transplanted them into 3.5-inch pots after they rooted and cared for them until they shut down in late fall near November(in our Pacific Northwest) climate.
We did not do anything too special with these plants most of the time, but, when we have a cold snap in winter we moved them into a garage for a couple of months to winter to ensure we always had a backup if we ended up with a survival disaster.
Next Season
Growing strawberries from seed is easy and the fruit is the greatest reward. Now that we have gone through season, we go forward with our initial plan…the long run.
Our goals here are to have almost 100% survival, grow better strawberries each year and keep the best varieties. In addition, we want to replace plants with runners every few years so we have productive plants….just like strawberry farmers.
So, what do we do after planting around 700 seedlings into a stacked pot system? The system takes forever to take apart and even if we did, we do not have room in a garage(or anywhere else) for around 200 pots.
Luckily, my mother who grew up on a farm and vast experience told me not to worry about them, and that they will come back every year. This was contrary to almost every post I read on the web that gets you thinking you have to mulch, protect and even store in garage.
Although we thought we could be doomed, we took my mother’s advice so we would not have to do an ounce of unnecessary work.
After a harsh winter that had temperatures bouncing around everywhere and even far exceeding the numbers required for plant protection, we kept the faith.
Finally, as the temps came to a zone where we could run the hydroponic system without freezing issues, we immediately hit the dried plant and pots with a heavy watering and half strength plant feeding near 350ppm. From this point on, we kept them moist in their peat-lite mix.
Although things looked bleak in the beginning in mid March, sure enough survival quickly began to look 85% plus and counting. New growth began to emerge from many crowns that looked dead from the naked eye.
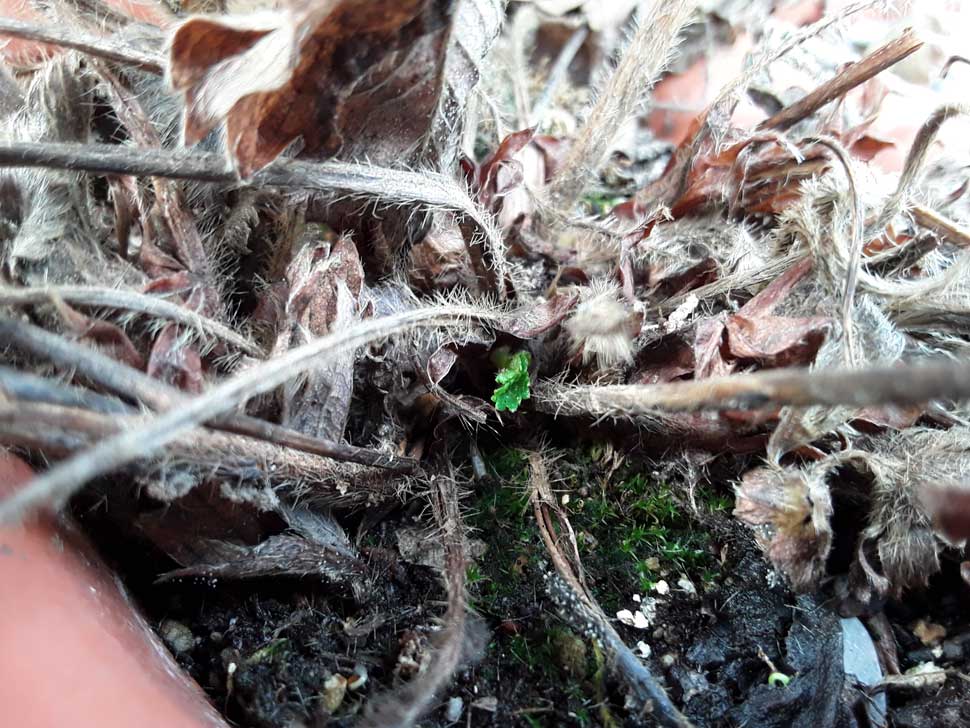
New bud from strawberry crown
Although we will likely have a few losses, it is nothing we did not have as a backup. In fact, our runners from last year are our better plants and will fill those losses nicely. In addition, with the old cliche ‘the strong will survive’, the majority that are doing fine will hopefully keep that strong tradition in the event that we have such extreme up and down temperatures in the winter.
Transplanting Runners From the Previous Year
During summer and fall from the last year, we rooted as many runners from our best plants as we could. Since they were rather small and lived in 3.5 inch containers, we just kept them there until the following the year for two reasons listed below.
- We could easily move them indoors if the weather got extremely cold…and it did.
- We could make a final decision to their whereabouts next spring.
With that said, almost all of them survived the off season, and just 1 year later, they are growing more vigorous in April than last year’s seeds started in January.
In addition, aside from the obvious benefit of the multiplier effect, they allow us to ensure each and every year we have an almost guaranteed supply of young plants that can be grown for three more years until we have to repeat the process.
More details about transplanting runners can be found here.
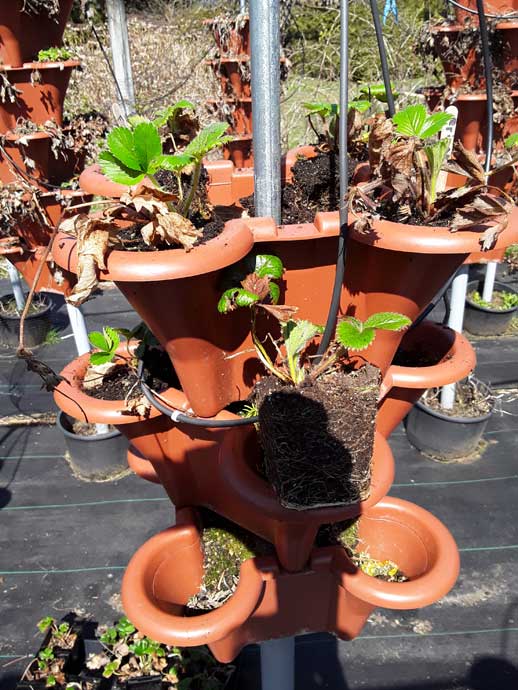
Transplanting runners from the previous year’s seedlings
Conclusion
So, there we are. We can purchase strawberry seeds, grow plants, produce fruit and easily clone 5 plants per seedling all in the first year. They are a strong investment and will return each year with minimal off-season care. If we grow enough, we will eat fresh all summer long and are able to freeze for smoothies all winter long.


