
Brewing our own Kombucha is very easy, and that includes making custom flavors like orange, strawberry and raspberry. If we can grow an abundant supply of hydroponic fruits and vegetables, we could have the easy access to the cheapest natural fruit flavorings at our disposal.
The Scoby
For brewing Kombucha, we need a scoby. It will allow us to make a batch each week. In fact, we could dedicate the same day each week to bottling.
To get a scoby, we can buy one from the many online dealers, acquire a baby scoby from a friend, or make one ourselves. The sooner we have one, the sooner we will have a decent batch.
If we make one ourselves, we will need about a month before it is going to do the job. Here is a post about making a scoby from scratch using store-bought Kombucha.
So, let’s splurge and spend the $10-$15 and order one locally.
Once we have a scoby, the rest is easy. To keep it real easy, this method even makes temp control for the scoby an easy process.
1 Gallon Brew
Kombucha Brewing Equipment
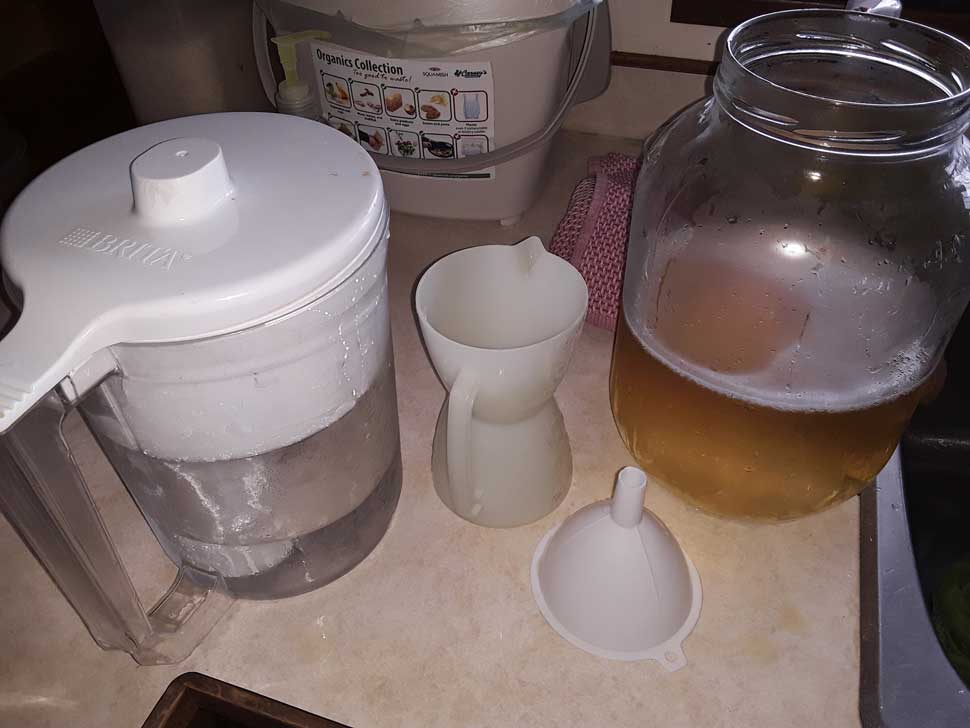
- 1 gallon jar
- 8 teabags(black or green tea)
- 1 cup white granulated sugar
- funnel
- scoby
- water
- fruit juice or puree
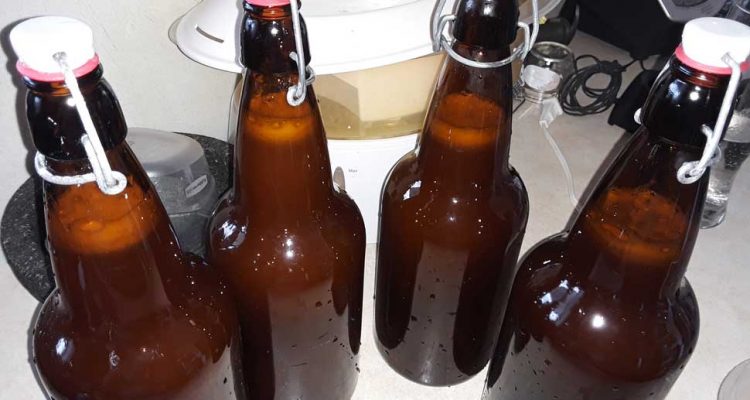
- 4, 1 litre swingtop bottles
- clean cloth and rubberband to cover brewing Kombucha
- large stirring spoon
- thermometer
- disinfectant
- time and patience
Procedure For Making Kombucha
The first step is to boil a kettle full of hot water(~1-1.5 litres or quarts). Then, we steep 8 teabags in a sanitized pot and wait 10 minutes. We can sanitize with various methods, which includes 1 tablespoon of bleach per gallon with a good rinse.
During the waiting period for tea, we can fill our sanitized, 1 gallon jar with 1-2 cups of starter liquid or previous batch of Kombucha and add filtered water like Brita(or cooled boiled water) into the first half or so of the 1 gallon glass jar.
Preparing and bottling is convenient at the same time!
After we have done that, we can remove the teabags and add a cup of sugar into the tea, stir well and dissolve it. Then, we can put it slowly into the jar and top of with more filtered water until it is 2-3 inches below the top.
If we use cold, filtered Brita water, with the hot sugar tea, the temp will be roughly 70-74 degrees which is fine. We can use a thermometer to make sure or we can put a few drops on our skin if we know what 70ish feels like.

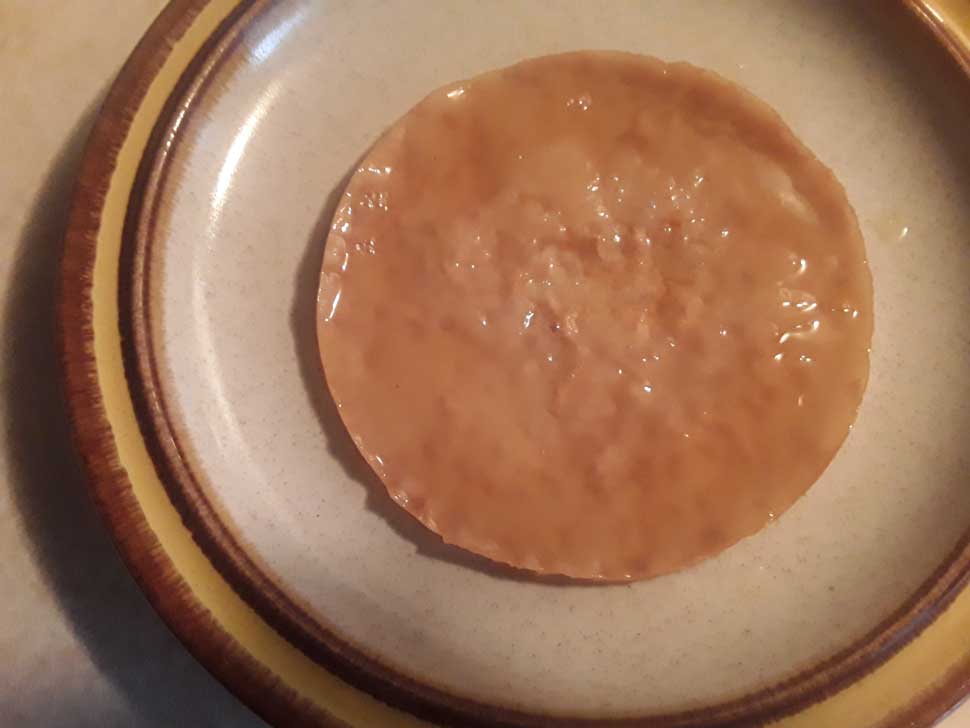
Mother Scoby has baby scoby attached which is why it looks sort of like messy crepes.
After that, we add the scoby, put a cloth around the lid and secure with an elastic band. Now, we put it where it is safe from sunlight, like in a closet, cupboard, under a bed, etc.
The room should be climate controlled around 70-75 degrees which is more or less plain old room temperature.
After 7 days, we can get our jar, remove the scoby onto a small, clean plate and filter the contents into a sanitized pot that will hold the liquid. Now, we simply add our flavorings like 3 cups of orange juice, strawberry juice or puree, raspberry juice or puree, etc.
After mixing everything up, we bottle our Kombucha.
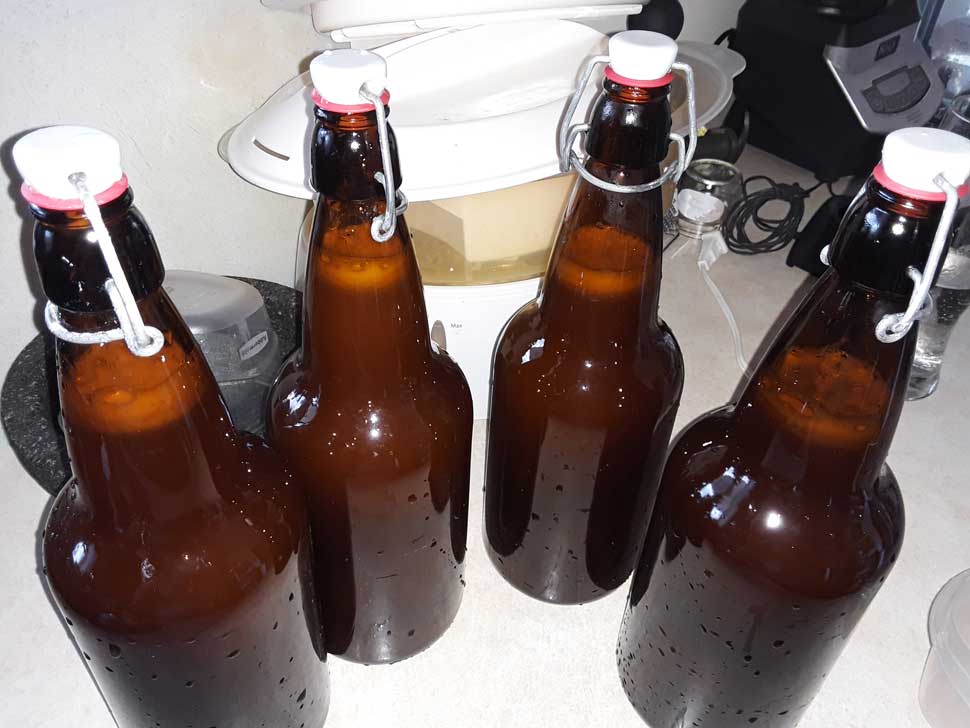
Once we have bottled our drinks, we can store our bottles at room temperature and wait 2-5 days before moving them to a fridge to halt the fermentation process.
From our checks, one night is not enough, but 2-5 all seem okay. Longer than that can cause over-fermentation and popping the bottle could be similar to that of champagne before things could even get worse.
Once we have our cold Kombucha we can crack open our bottles and enjoy.
Conclusion
What will cost $9 in a store can be made at home for under $2. Coming from beer brewing as my only fermentation background, I was expecting a quality of Kombucha that needed improvement.
In fact, the first trial was only waiting 1 night after bottling for carbonation. That was not enough and it tasted less than ‘okay’.
However, after two nights, it actually was good. That was a surprise. Good meaning along the lines of commercial quality. After 3 and 4 nights the carbonation was where we wanted it. That principal held true for 4 batches.
For those with a background brewing beer, brewing Kombucha is easier. The key points are hitting the proper quantities, and hitting the proper temperatures when making the batch, fermenting and post bottling.