Growing large tomatoes can be rewarding and money saving. The taste and quality is the final deal breaker. Some sources estimate 9/10 gardeners in the USA(Canada?) grow tomatoes.
One very common large tomatoes is the Beefsteak variety. In fact, when I worked at a garden center at 19 years of age, it was the best selling vegetable plant, as far as I remember, in addition to classic called ‘Early Girl’.
Fast forward 30 years, I still put out a few Beefsteak tomatoes, but, not many as I will get to that in a moment.
Whether we decide to grow in soil, containers or hydroponics, we need to find the ideal plant(s) for our situation.
In our location, one can grow many varieties, but blight and humidity can pose problems. One strain that seems to handle these fairly well in a hydroponic garden is the ‘Early Girl’ variety.
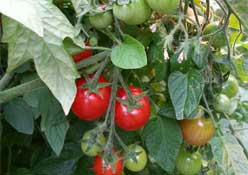
This variety grows a thicker skinned tomato that tastes great in Greek salads. More importantly, it looks almost perfect in color and no imperfections like scabs and whatnot. It is also very strong and handles fall storms and wind with minimal training.
The Beefsteak in our system grows big, but, it cracks in rain and can be a little scabby. The leaves also look more diseased than other varieties too.
With that said, let’s get started growing those tomatoes now that we have narrowed down our selections.
Tomato Seeds Germination
The germination date is somewhat of high importance because the earlier we start, the sooner they fruit.
However, there are trade-offs here. If we start early like March 1, we will need to transplant into larger pots at 4 weeks old. Now, we have space and extra work issues. But, doing this can be the different of tomatoes ready in July.
If we waited and went from small cell or Juffy pot into our final garden location, that could mean staring them in early April and fruit will be a month later in August. The decision is ours, but having at least some early ones makes sense.
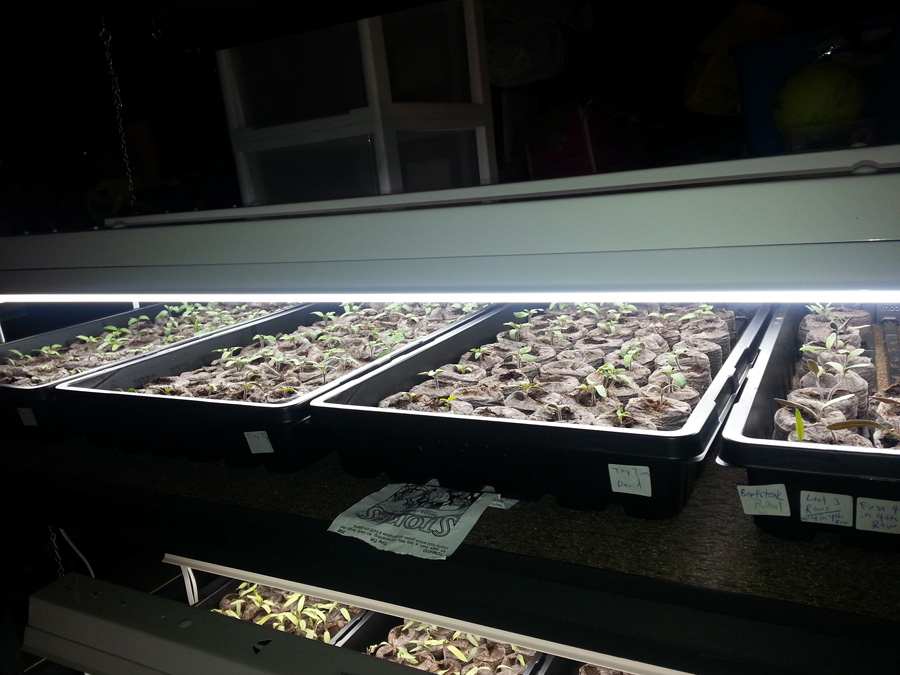
Starting tomato seeds is quite easy. We can place them in Jiffy pots, or better yet, place them in moist 72-cell plant inserts using a medium like peat/vermiculite. 5-10% vermiculite is sufficient. We can cover the seeds with a tiny layer(1/8-inch) of vermiculite, or just cover with same mix.
After that, we put on a 4-inch dome and leave them in darkness until the first ones sprout. This can be a few days. Then, we turn on the lights.
For the next 2-3 weeks, plain water is all they need while they are only 3-inches below the daylight led lights. Make sure to monitor color because they will go slightly yellow if we are late on the food. 1/3 strength fertilizer is fine at this point.
Once our plants are 4 weeks old or so, we can move them into 3.5-inch pots and continue to care for them under lights or move them into a coldframe or greenhouse.
How To Build a Hoophouse
Tools
- Handsaw.
- Hammer.
- Exacto knife.
- Shovel (if corner posts are dug into the ground).
Materials
- One-inch PVC pipe (10 to 12-foot lengths); two pieces for every 2 feet of hoophouse length.
- 2×4 wood for bottom frame.
- 3 to 3 1/2-inch wood nails.
- 6×6-inch posts for the corners of the frame.
- Door.
- In-line fan.
- 6ml clear poly (greenhouse grade preferred).
- Fasteners for mounting the 1-inch PVC against the 2×4.
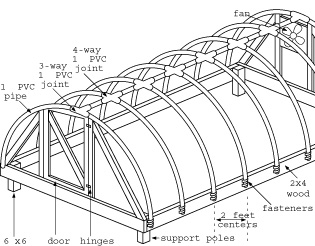
- Four-way 1-inch PVC joints, one for every two pieces of 1-inch PVC pipe in the frame, minus the first and last fittings which will be 3-way 1-inch PVC joints.
- Two 3-way 1-inch PVC joints.
- Two 1-foot lengths of 1-inch PVC.
- In-line fan and matching 2 to 4-foot length of stovepipe.
Procedure
- The four corner posts should be cut to equal lengths and buried in the ground, or placed on flat hard ground like cement.
- 2x4s are hammered with nails to the posts in order to make a rectangle box.
- Now, the center spine is made.
- At the front end there is a 3-way joint.
- Then a 2-foot length is connected, followed by 4-way joints.
- The pattern is repeated until the last 3-way joint is connected to the last 2-foot length. For extra strength, all connections can be glued with PVC glue.
- The first 2 pieces of the long 1-inch PVC pipe should be inserted into the first 3-way fitting, then clamped to the side 2x4s. The next step is to repeat this for all of the long pipes.
- The house can be covered with a sheet of 6ml plastic.
Smart Option
An in-line fan and a 2 to 4-foot piece of stovepipe can be hung inside of the house and a small hole can be cut in the rear of the hoophouse for air to exhaust.
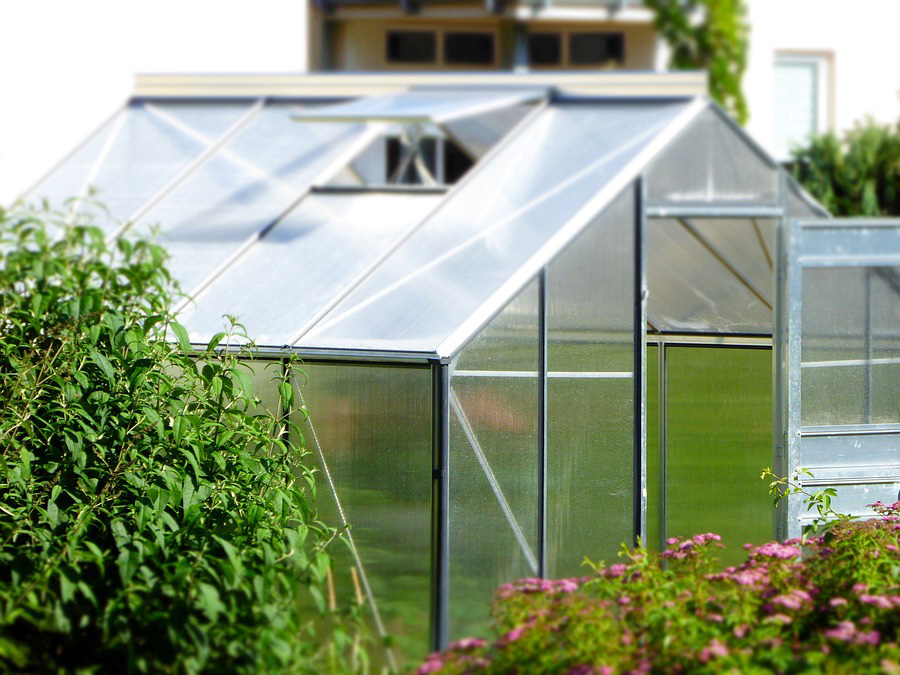
To maintain a top-quality environment, cooling or heating a greenhouse are options.
Heating a Greenhouse
A greenhouse can be heated with the following systems. Glass holds warm air in a greenhouse better than other materials.
- Unit heater such as a forced-air heater (good for small greenhouses).
- Convection tubes.
- Central heating (uses hot water or steam). Good method on big-scale.
- Radiant heaters (heats the area near plants, not all of the air).
- Solar heat. This stores heat in a collector, and can be used with a backup heating source that activates when this system is not sufficient.
Cooling a Greenhouse
A greenhouse can be cooled with the following items.
- A roof vent allows hot air to leave a greenhouse in a mild climate. In a hot climate, this will not be sufficient.
- Shade cloth can be used to cover the roof and 2/3 of the sides of the greenhouse. These come in shades that block out light at 30%, 40%, 50%, 60%, and 70%. The right strain should be used with shade cloth.
- Evaporative cooling (heat exchangers). These can cool temperatures under hot conditions. They can be used with shade cloth, too. This will save energy.
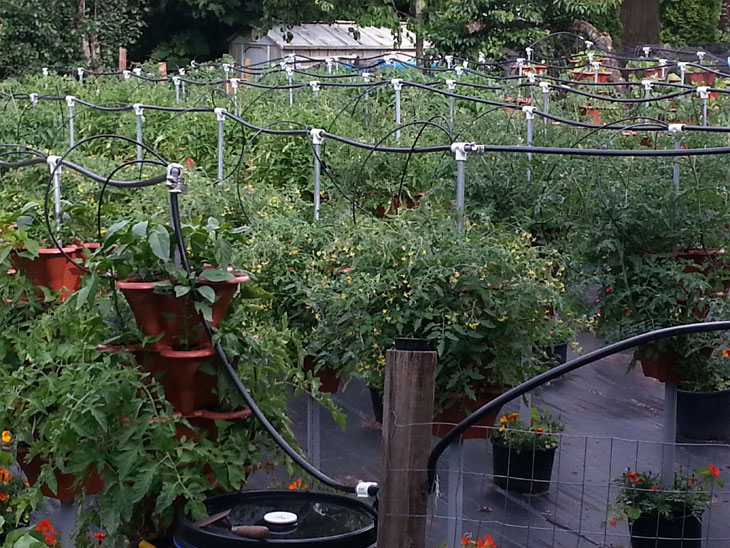
Then, we can put them in a final location, which in our case is a hydroponic garden. Then, they are grown on autopilot with a daily feeding program so they grow abundantly and healthy.
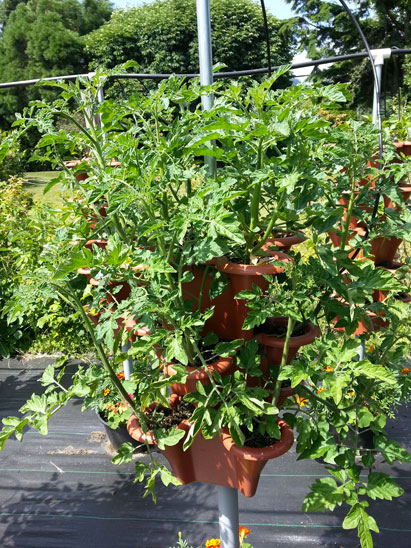
Twelve Tomatoes in Stacked Pots
Pacific Northwest Vertical Garden Using Stacked Pots
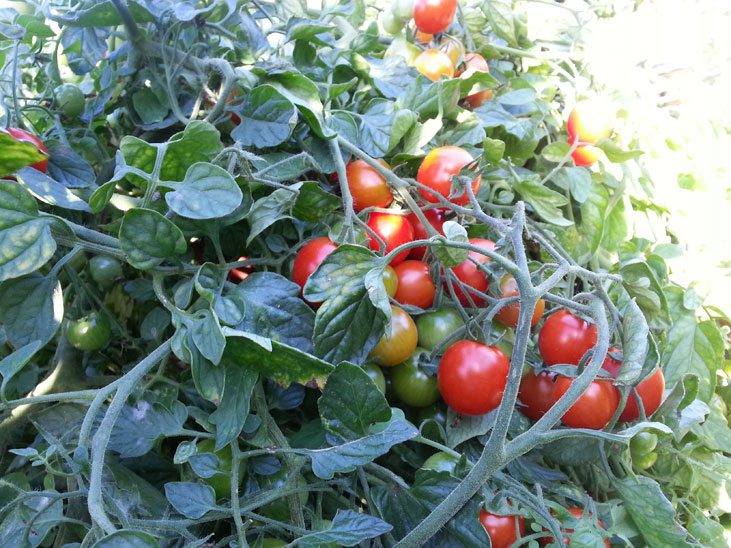
Although we have been discussing large tomatoes, care and growing smaller, cherry sized tomatoes is almost identical
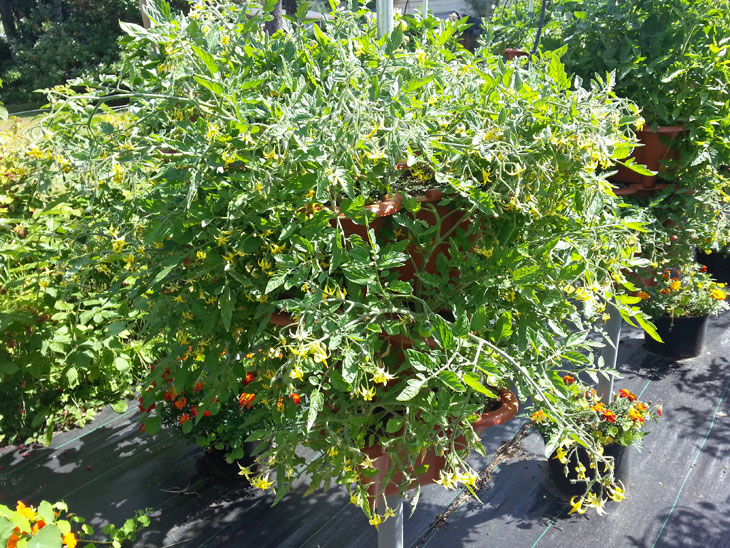
Tumbling Tom Cherry Tomatoes
The time comes when a plant has all stages of growth, from, new tiny tomatoes to edible ones. No explanation required at this point. We can eat them, freeze them, or dehydrate them.